Planning a full-day mountain bike adventure? Whether you’re a beginner or intermediate rider tackling all-mountain trails, technical downhill sections, or tough climbs, packing the right gear is key to a fun and safe ride. Use this handy checklist to ensure you have all the essentials for your day on the trails – and nothing important gets left behind. Let’s gear up and keep it Rubber Side Down!
On-Body Essentials
- Helmet: Your most critical piece of gear – always wear a well-fitted helmet on every ride to protect your head. It’s non-negotiable for safety (and often required by law).
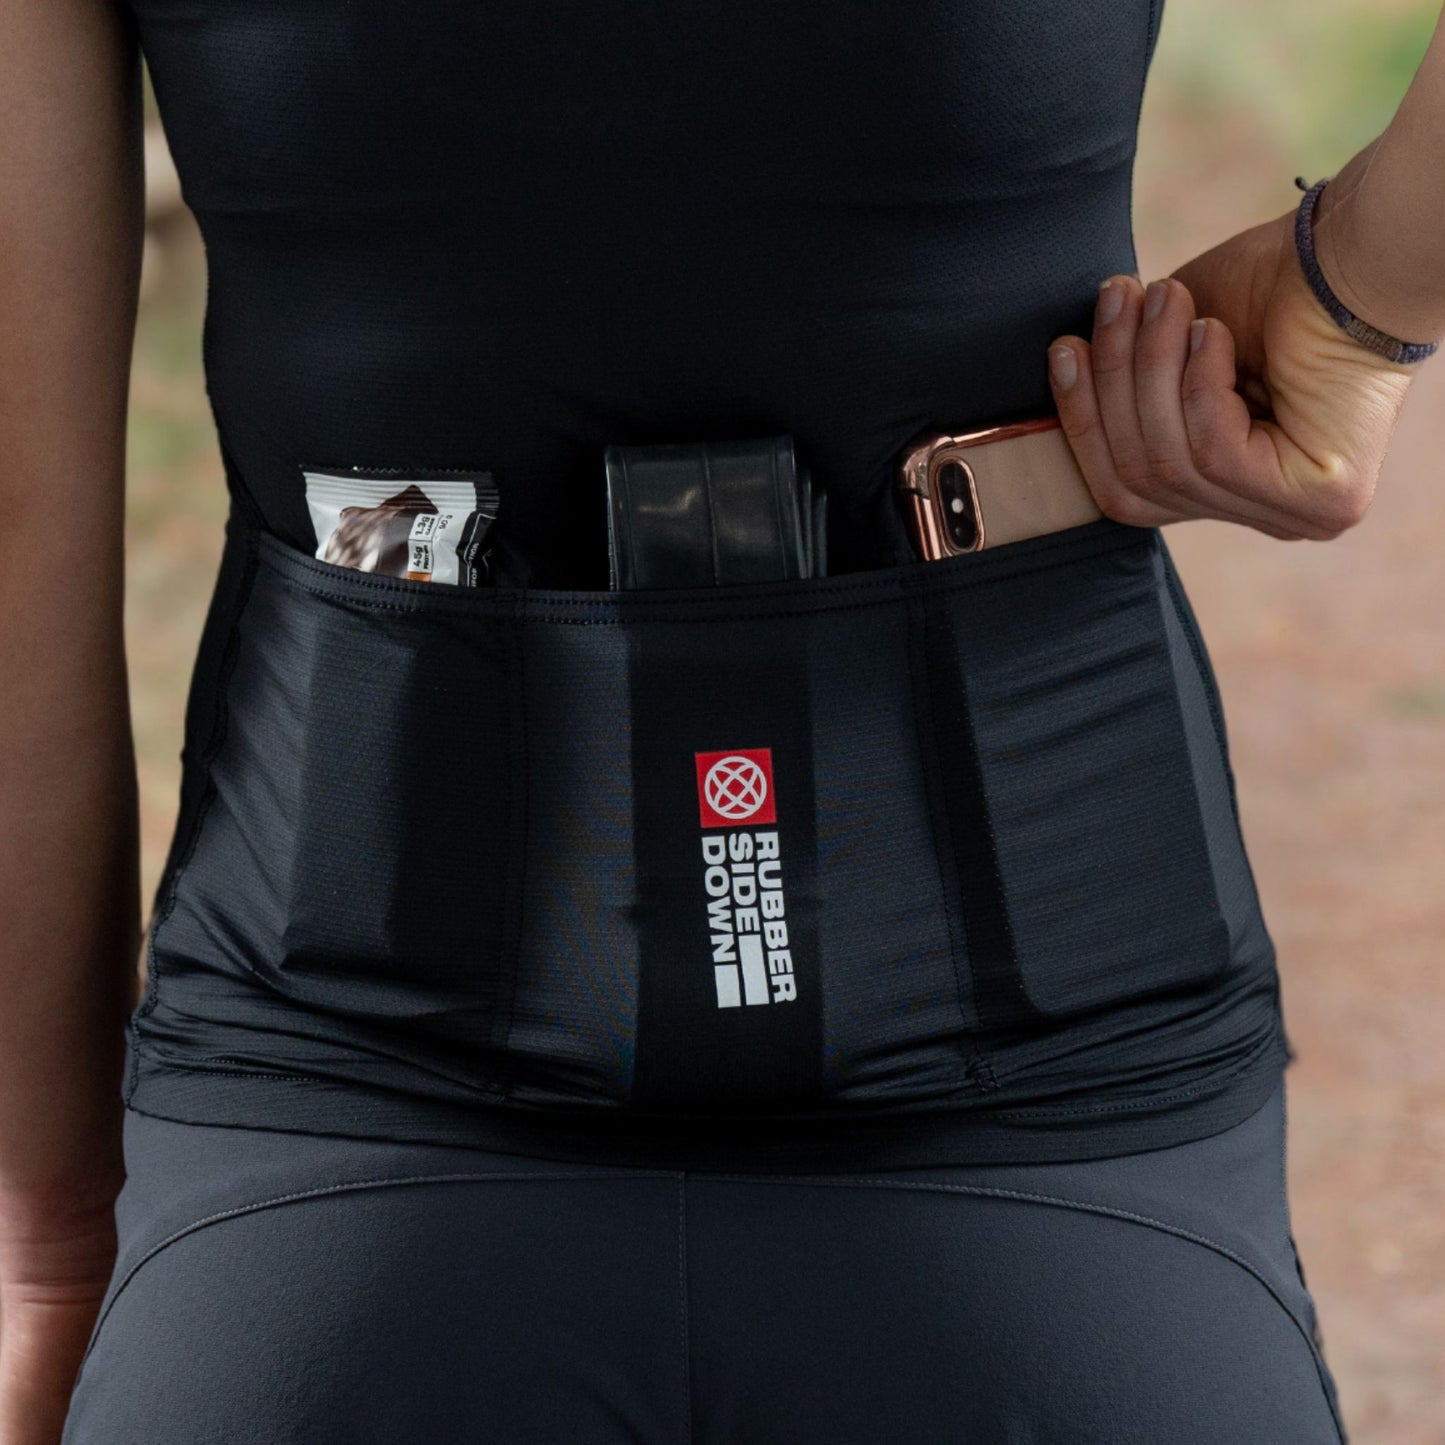
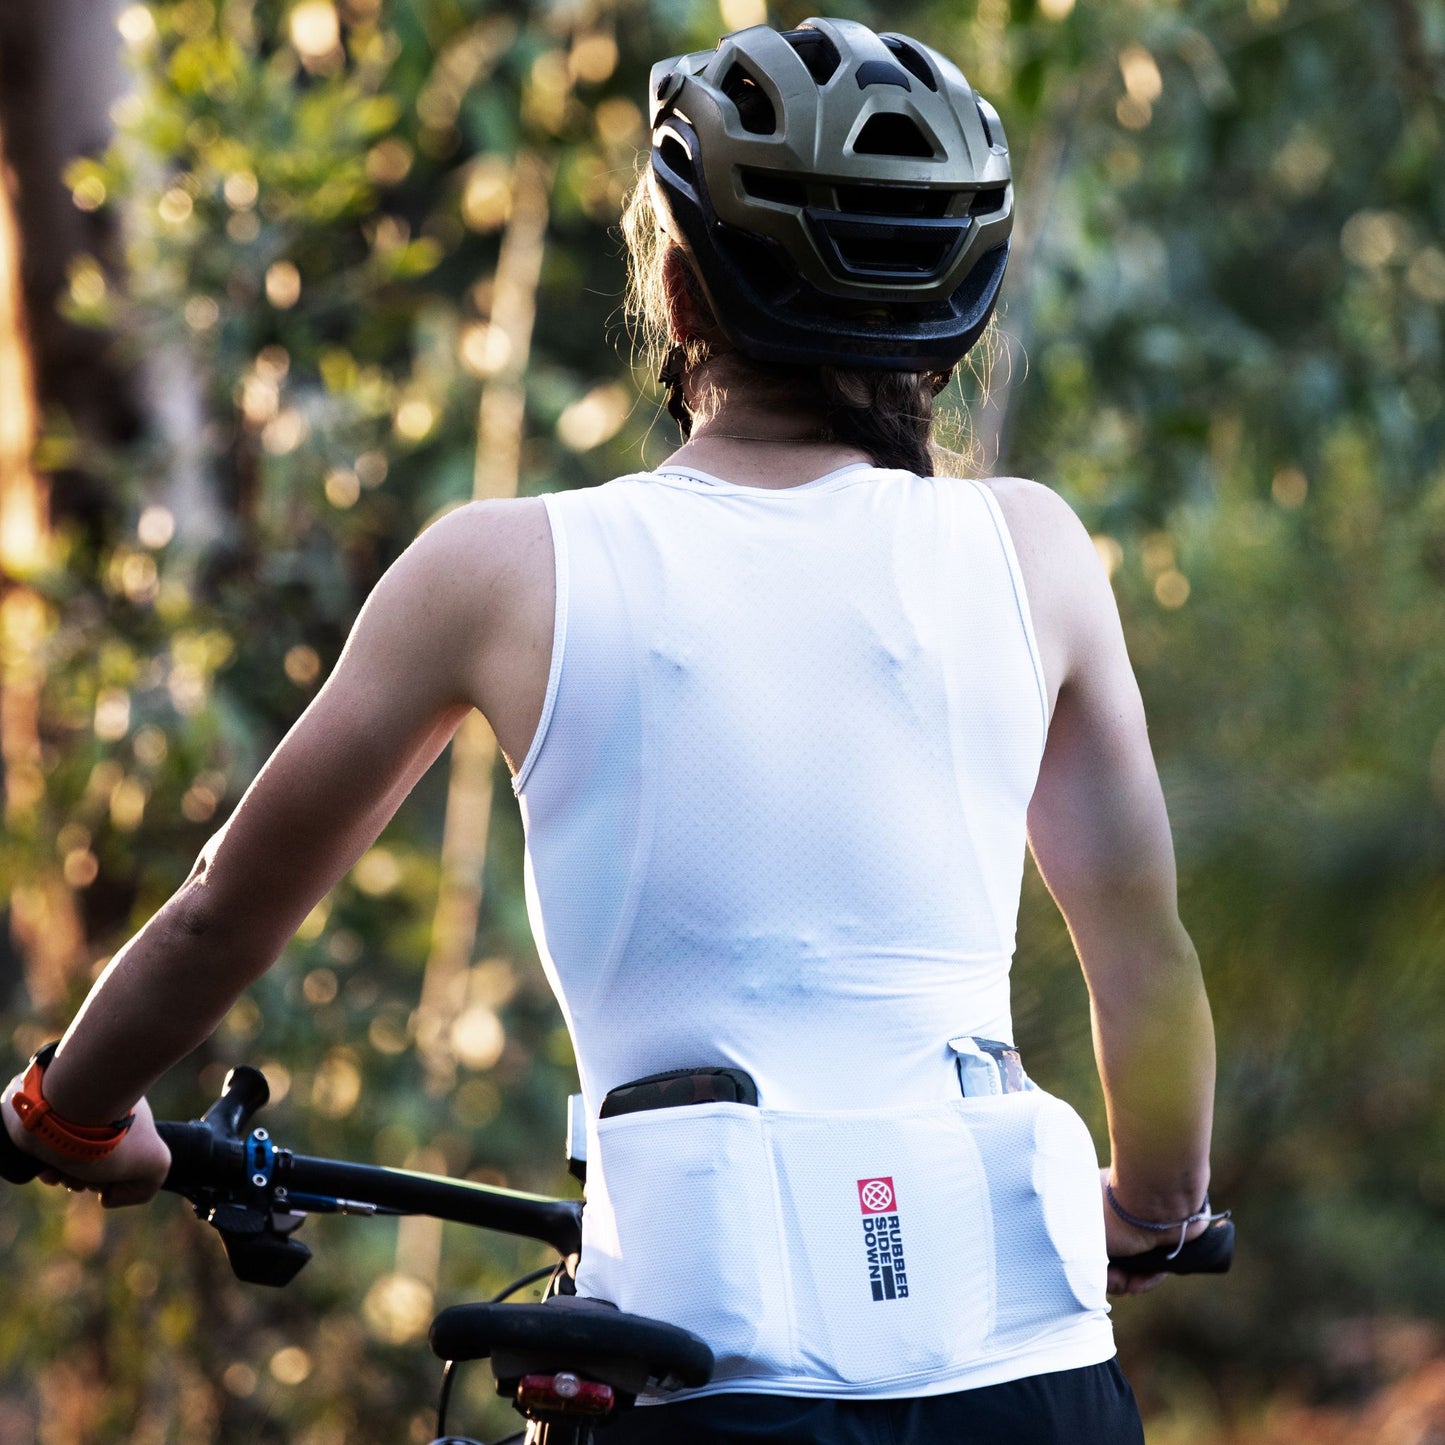
- Cargo Base Layer (Rubber Side Down): A lightweight base layer with built-in pockets for carrying essentials, letting you ditch the backpack and ride in comfort. Our Cargo Base Layer keeps your gear secure (no bouncing on rough trails) and easily accessible while keeping you cool . (It’s our #1 must-have for heading out on the trails!)
- Moisture-Wicking Jersey: Wear a breathable cycling jersey appropriate for the weather. Look for lightweight, quick-drying fabric (to keep you cool). Wear layers if needed for temperature changes.
- Padded Bike Shorts or Bibs: Worn underneath your outer technical shorts, investing in a quality set of padded shorts will make a huge difference on a longer ride. They support your sit bones and prevent chafing by wicking away moisture, keeping you comfortable in the saddle . Trust us, your backside will thank you after hours of trail time.
- Gloves: Full-finger mountain bike gloves improve your grip on the bars and protect your hands from blisters, branches, and crashes. Gloves also help absorb trail vibration to reduce hand and arm fatigue.
- Quality Riding Shoes: Wear comfortable, durable cycling shoes with good tread. Whether you use flat pedals or clip-ins, stiff-soled bike shoes will give you better pedal power and control . Don’t forget moisture-wicking socks to keep your feet dry.
Hydration & Nutrition
- Plenty of Water: Staying hydrated is critical on any ride. Carry enough water for the time you are out. Adding an additional bottle like Rubber Side Down's foldable bottle in your Cargo Base Layer is a great way to carry extra water so that you don't run out on the trail. Sip regularly, even if you don’t feel thirsty.
- Electrolyte Drink/Tablets: For long or hot rides, mix electrolytes with your water. When you sweat, you lose salts that water alone can’t replace – an electrolyte drink helps keep your muscles firing and stave off cramps . You can use sports drink mixes or dissolvable electrolyte tablets in your bottle.
- Trail Snacks: Pack quick-energy foods to keep you fuelled all day. Great options include energy bars, gels, trail mix, bananas, or jerky. Bring a bit more than you think you’ll need – an extra gel or bar can save you if you start to “bonk” (run out of energy) mid-ride . For a full-day outing, you might also pack a light lunch or sandwich for a mid-ride break.
- Food for Recovery: It’s optional, but tossing an easy snack in your bag for the end of the ride (like a protein bar) can help you start refuelling as you wrap up the day.
Bike Essentials
- Spare Tube (and Patch Kit): Even if you run tubeless tires, always carry at least one spare tube. A bad slash or valve failure can render tubeless sealant useless, and a tube is the ultimate failsafe to get you rolling again . If you ride tubed tires, a simple patch kit is handy for repairing minor punctures. (Tubeless riders should also pack a tubeless tire plug kit to quickly seal small punctures on the trail .)
- Mini-Pump or CO2 Inflator: Bring a portable tire pump or a CO2 inflator (with cartridges) to reinflate your tire after fixing a flat . A pump never runs out and is reliable for all-day use, while CO2 cartridges can save time during quick fixes – it doesn’t hurt to carry both if you have room.
- Tire Levers: A pair of tire levers is essential for prying off a tight tire from the rim . They’re cheap, light, and will make fixing a flat much easier (your fingers will thank you).
- Multitool: Pack a good cycling multitool that includes common hex/Allen wrenches, and Torx keys for on-trail adjustments . This lets you tighten loose bolts, adjust your seat or brakes, and handle other minor fixes on the go. (Ideally, use a multitool that also has a built-in chain breaker.)
- Chain Fix (Quick Link + Tool): A broken chain can instantly end a ride – unless you’re prepared. Bring a spare quick link (aka master link) that matches your chain speed, and a small chain tool (or multitool with one) to remove damaged links. This combo lets you repair a snapped chain and keep riding . It’s a tiny addition that can be a ride-saver.
- Bonus: If you have space, a few extra repair bits can come in handy: a derailleur hanger specific to your bike (they can bend or break in a crash) and a tiny bottle of chain lube for long dusty rides.
Safety Gear
- Eye Protection: Wear glasses or goggles to shield your eyes from debris, wind, and sun. Clear or tinted cycling glasses will protect you from mud splashes, dust, and low-hanging branches. Being able to see clearly on fast descents is vital for safety.
- Knee and Elbow Pads: If you’re hitting technical downhill sections or rocky terrain, consider wearing pads. Knee and elbow pads can prevent serious scrapes and bruises (or worse) in a crash . Modern pads are light and pedal-friendly, so you can wear them during climbs and be glad to have them on the way down.
- First Aid Kit: Pack a small first aid kit for minor injuries and crashes. It should include basics like bandages, antiseptic wipes, pain relievers, and gauze. Accidents happen even to the best riders, so being able to patch up cuts or scrapes on the trail is important. In a sealed bag, you can strap your kit to your frame or under your seat so that you don't need to remember to pack it each time you head out on the trail.
- Fully Charged Phone: Always carry a charged mobile phone in a waterproof pouch or zip-lock. It’s your lifeline for emergencies – you can call for help or navigation if you get lost . Plus, it doubles as your camera for epic trail snapshots!
- Emergency Info: It’s wise to have an ID and emergency contact info on you whenever you ride. In a crash, this helps first responders. Many riders tuck an ID card or write contact numbers on the back of a bike tag. Hopefully it never gets used, but it’s good peace of mind.
Optional Extras
- Sunscreen: Don’t let sunburn ruin your day. Apply a high-SPF sunscreen before you start, and bring a small tube to reapply if you’ll be out for hours (especially in summer).
- Light Jacket or Rain Shell: Pack a lightweight windbreaker or rain jacket if the weather is unpredictable or if you’ll be at higher elevations. Mountain weather can change quickly, and a packable jacket can keep you warm and dry through wind, rain, or a sudden chill. Choose something that compresses small for when you are not wearing it.
- Cash & Card: Stash a bit of cash and a credit card in your phone case or Cargo Base Layer. They can be a lifesaver if you detour to a cafe for lunch, need to buy an emergency part, or even catch an Uber in a pinch. (Pro tip: A folded dollar note can work as a makeshift tire boot for a large cut in your tire to get you home!)
- Action Camera: If you want to capture your ride on video, bring along a GoPro or similar action cam (with a secure mount). It’s totally optional, but you’ll get to relive that awesome downhill run later. Just make sure it’s fully charged!
Wrap-Up: Before you head out, double-check your checklist and make sure everything is packed or strapped to your bike. A little preparation goes a long way to avoid hassles on the trail. With the essentials (and a few smart extras) in your kit, you can ride all day with confidence. Now get out there, enjoy the adventure, stay safe, and keep it Rubber Side Down!


